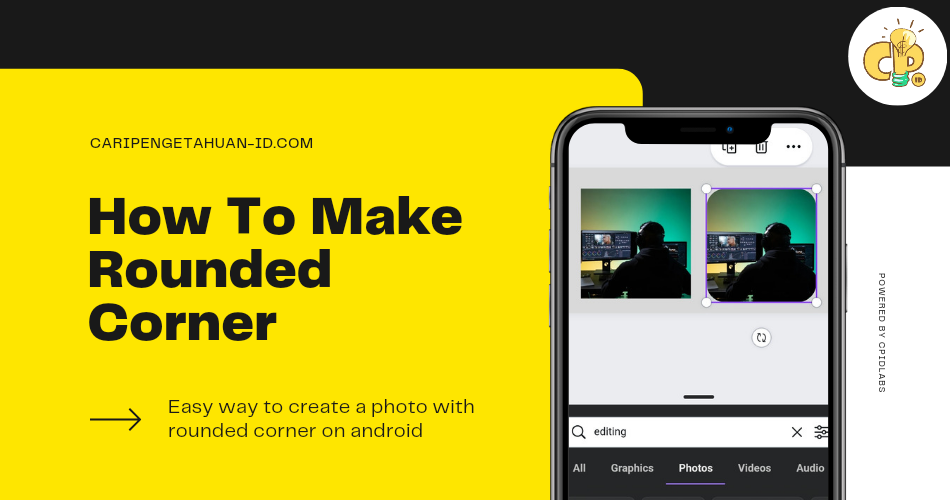
Easy Way To Edit Photo with Rounded Corners On Android Phones
Photo editing is a common thing among the people. Not a few people are willing to spend hours to edit pictures to make them look professional.
There are many PC software that you can use to edit photos, such as Light Room, Photoshop, GIMP and others
Don't have a laptop or PC? Don't worry, this tutorial is for those of you who don't have both of these things
application you need :
- PicSay Pro (available on google and playstore)
- Background Eraser
Step 1 : Download PicSay On Playstore
The first thing to do, of course, is to have a Photo editor application. now Im using Picsay in this tutorial. This application is very light, only 2mb in size, you can download it on the PlayStore for free
Step 2 : select the image you want to edit
Select the image that you want to edit by pressing the 'get a picture' button, then select the photo you want to make curved at the corner
Step 3 : applying rounded corner
On the menu below, click on 'effect' button
after that, scroll down and click on 'Rounded Corners' button
after that, scroll down and click on 'Rounded Corners' button
Step 4 : save edited image
Then save the image that has changed the angle to be curved by pressing 'Export' in the bottom menuThen select 'save as file'
Step 5 : Erase the white part of the corner using Background Eraser App
After making the corners of the image curved, the next way is to remove the white part in each corner of the image using the background Eraser application. First download the application on the Playstore, the application is quite light, only 5MB
Then select the image by click on 'load photo' button
Erase all the white parts at the corners. to make it easier, click 'auto' and then click on the white part.
Step 6 : Simpan gambar yang sudah jadi
Save the final image. press the check mark √ in the top corner of the screen
After that click on 'save' button to save the final result of the image.
The Final Result
Closing
That's the article that I can write. if you as a reader feel this article has shortcomings and incompatibility, it is expected to write your criticisms and suggestions in the comments column.
Thank you

 | Pengetahuan Umum
 | Science
 | Fisika
 | Biologi
 | Hewan
 | Teknologi
 | kimia
 | Astronomi
 | Tutorial, Tips dan Tricks
 | Tutorial Blogger
 | Sekolah
 | Ekonomi
 | Sosial
 | Bahasa Indonesia
 | Sejarah


